How to Make a Quilted Throw Pillow Cover
Megan FowlerA quilted throw pillow cover is one of those sneaky little projects that does a lot.
It lets you practice quilting. It gives a single block a whole new life. It uses up batting scraps that have been haunting your sewing space. And, yes, it gives you a very practical excuse to install a zipper without committing to a full bag-making side quest.
This tutorial will walk you through how to turn one quilted block into a zippered throw pillow cover. I’m using a 22 inch by 22 inch block, but you can easily adapt the same method for other pillow sizes.
Supplies
To make one quilted throw pillow cover, you’ll need:
- 1 quilted block, 22 inches by 22 inches
- 1 quilted back panel, 22 inches by 22 inches
- 1 zipper, 22 inches long, invisible or standard
- Quilt batting, scraps are perfect
- Scrap backing fabric for quilting
- Coordinating thread
- 1 pillow insert, 22 inches by 22 inches
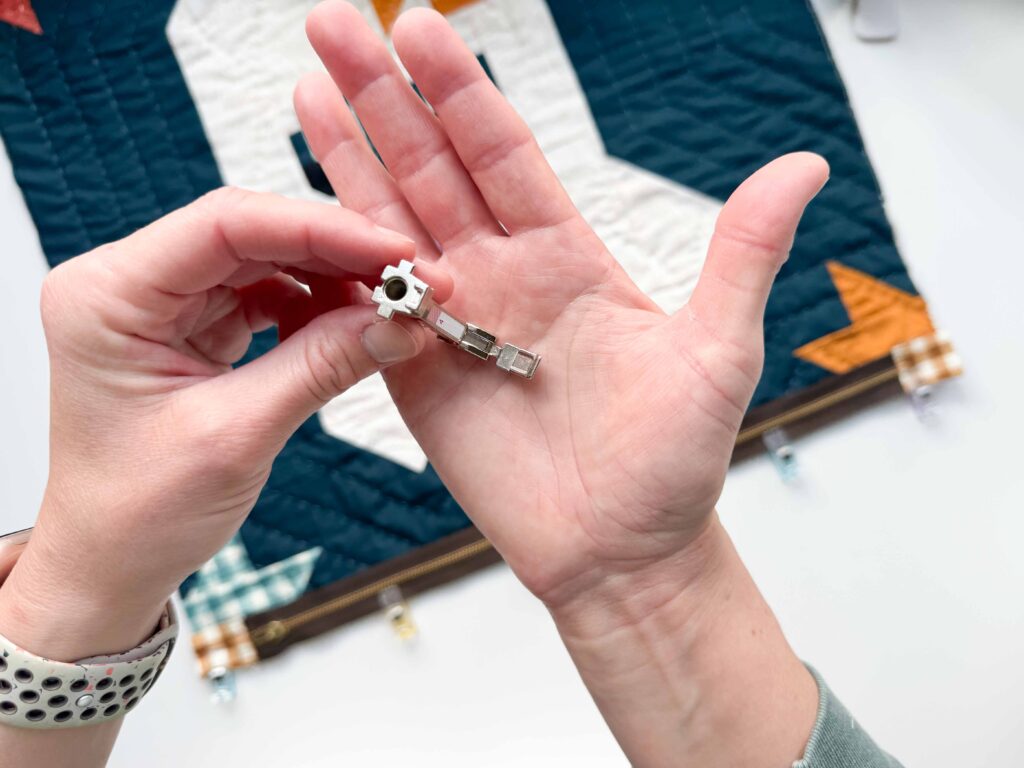
- Zipper foot
- Rotary cutter and ruler
- Pinking shears or zigzag rotary cutter
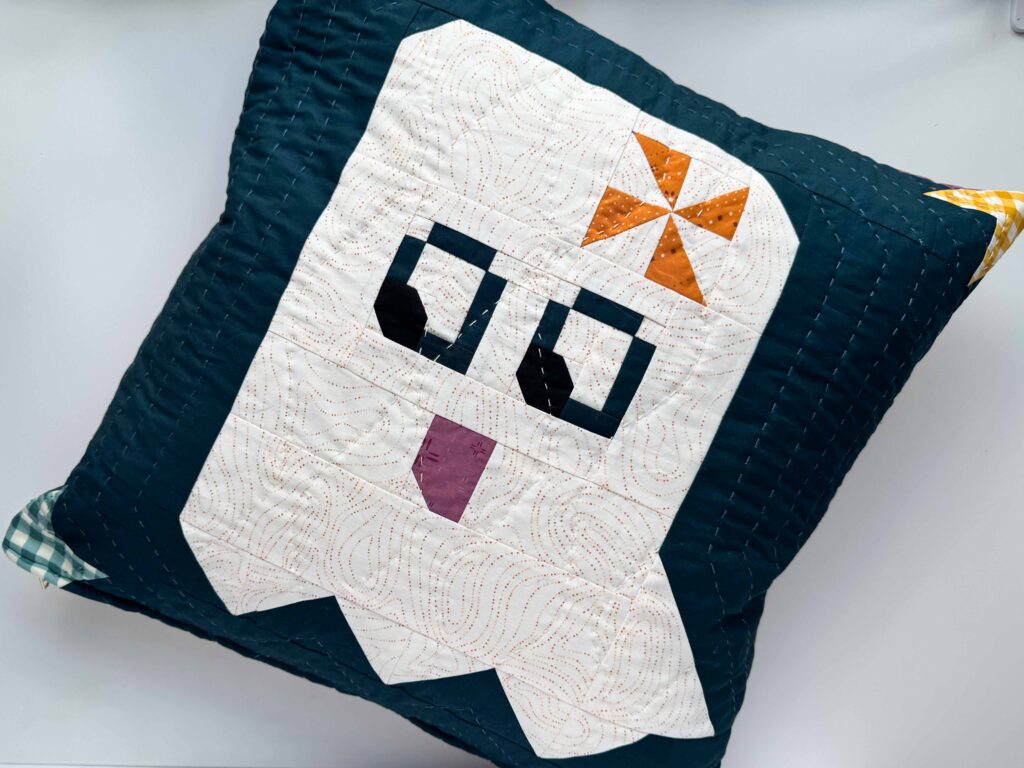
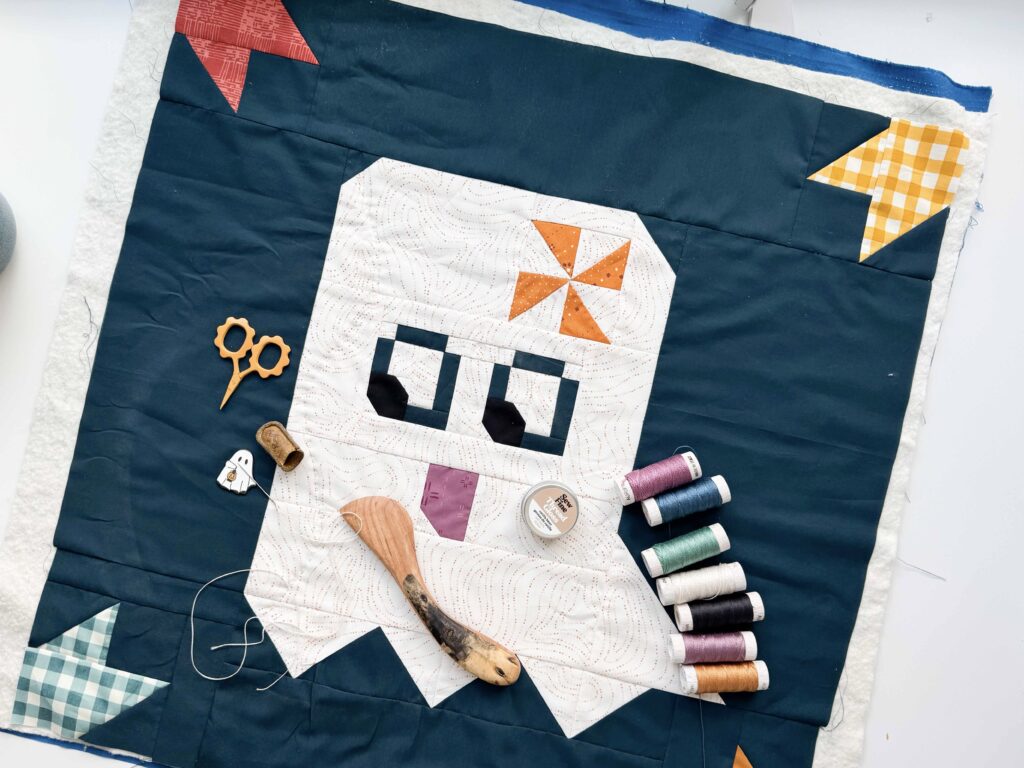
For my pillow, I’m using a hand-quilted Birdie Boo block for the front and a simple quilted whole-cloth panel for the back.
How to Use Scrap Batting
This is a great project for using small batting scraps.
To piece batting scraps together, place the raw edges right next to each other so they are touching but not overlapping. Then join them with a wide zigzag stitch.
That’s it. Truly.
Once your pillow is finished, the batting will be tucked inside the quilted layers and no one will know you Frankensteined it together from the batting scrap pile. Honestly, very satisfying.
Step 1: Quilt the Front Panel
Layer your pillow front like this:
Scrap backing fabric, wrong side up
Batting
Quilt block, right side up
Baste the layers together using your favorite method. Spray baste, safety pins, thread basting, use whatever keeps the layers from shifting while you quilt.
Then quilt the panel however you’d like.
You could use straight lines, a grid, hand quilting, free-motion quilting, or whatever texture feels right for your block. I hand-quilted mine using Aurifil 8wt thread, which gives the pillow front a cozy, textured finish without feeling fussy.
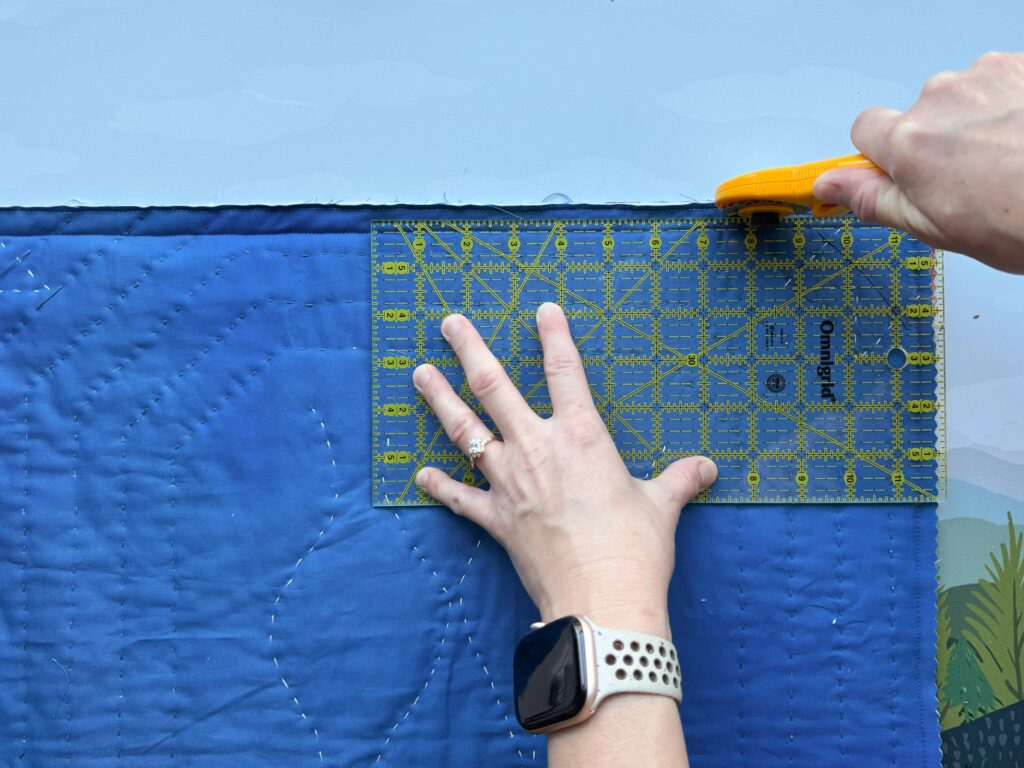
Once the front panel is quilted, trim and square it to 22 inches by 22 inches.
Step 2: Quilt the Back Panel
Next, make the back panel.
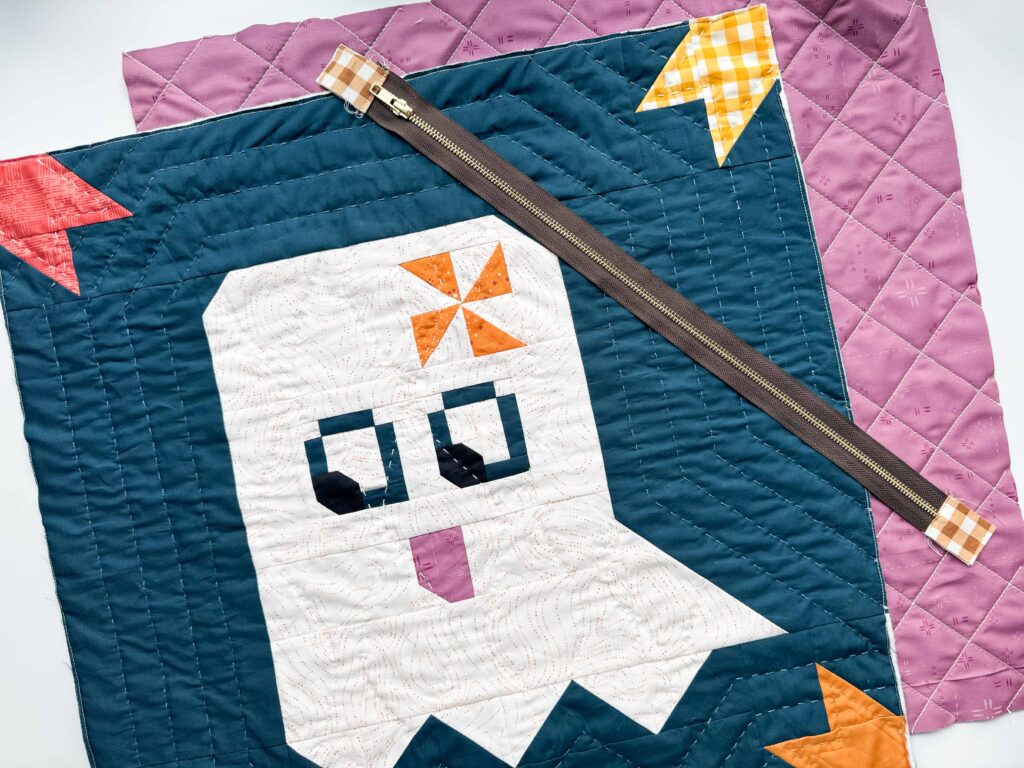
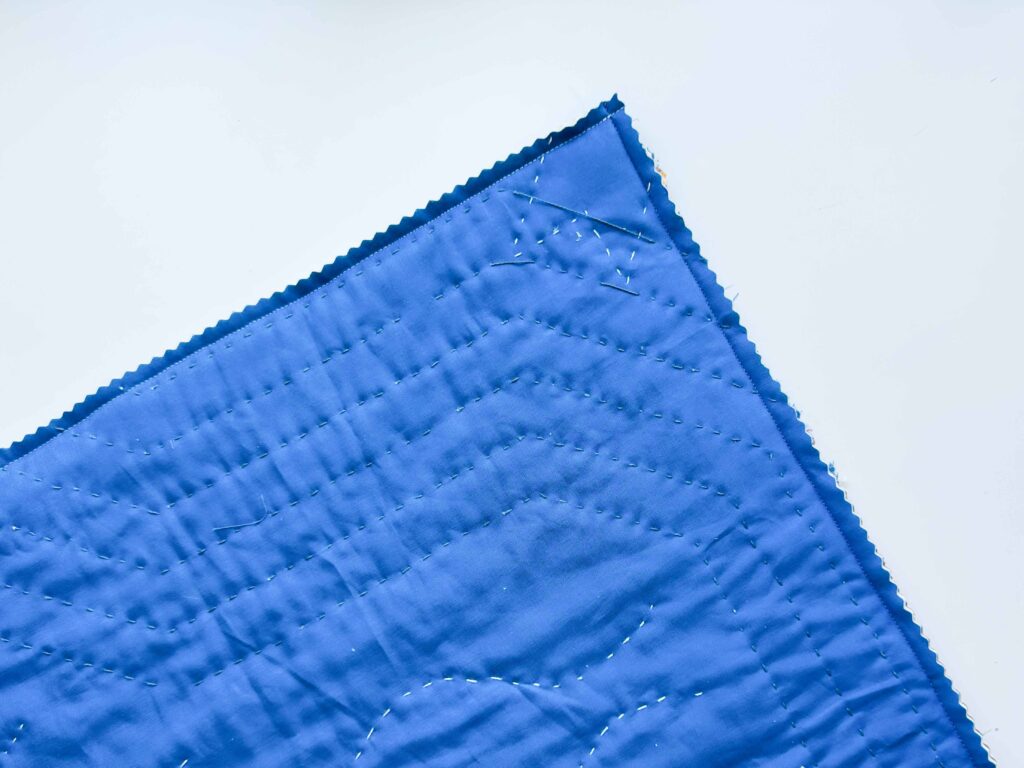
This can be another pieced block if you want the back to be fancy, but it can also be a whole-cloth quilted panel. That’s what I used for mine.
Layer the backing fabric, batting, and backing panel just like you did for the front. Baste, quilt, then trim the back panel to match the front panel.
You should now have two quilted panels that are the same size.

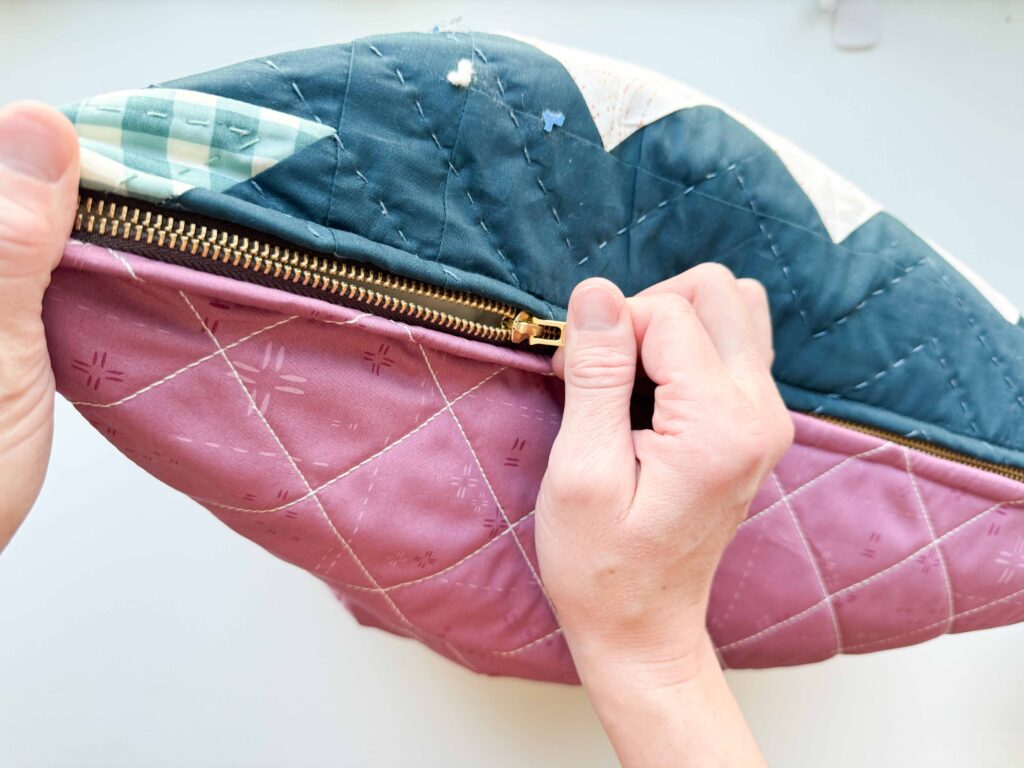
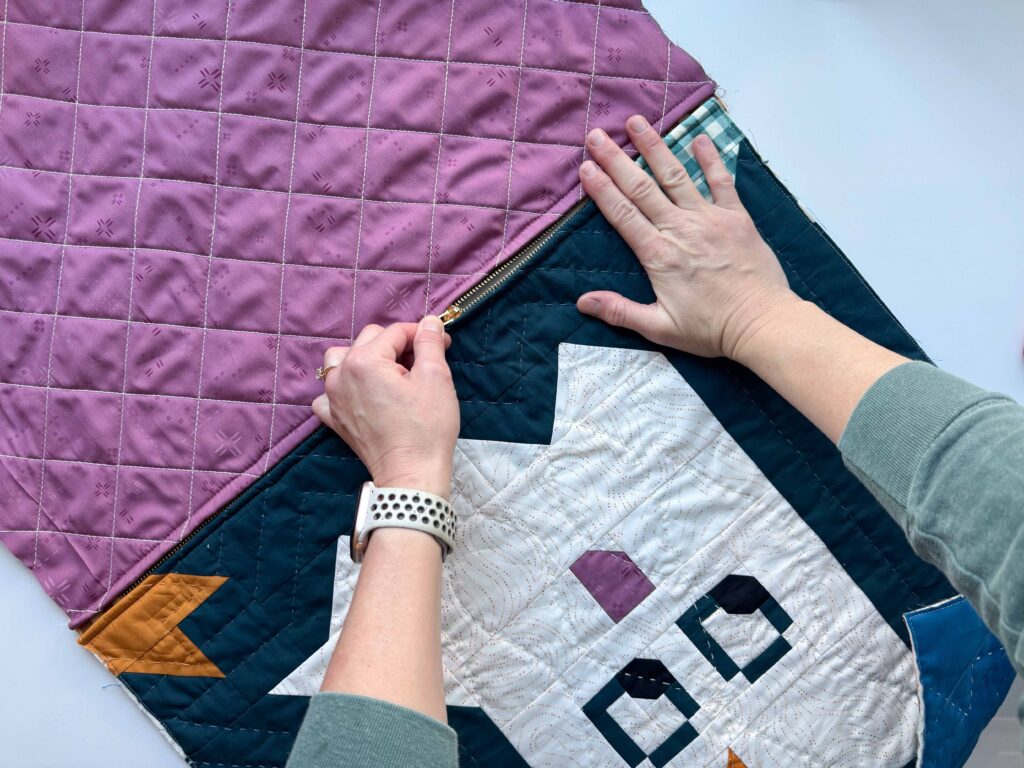
Step 4: Attach the Zipper
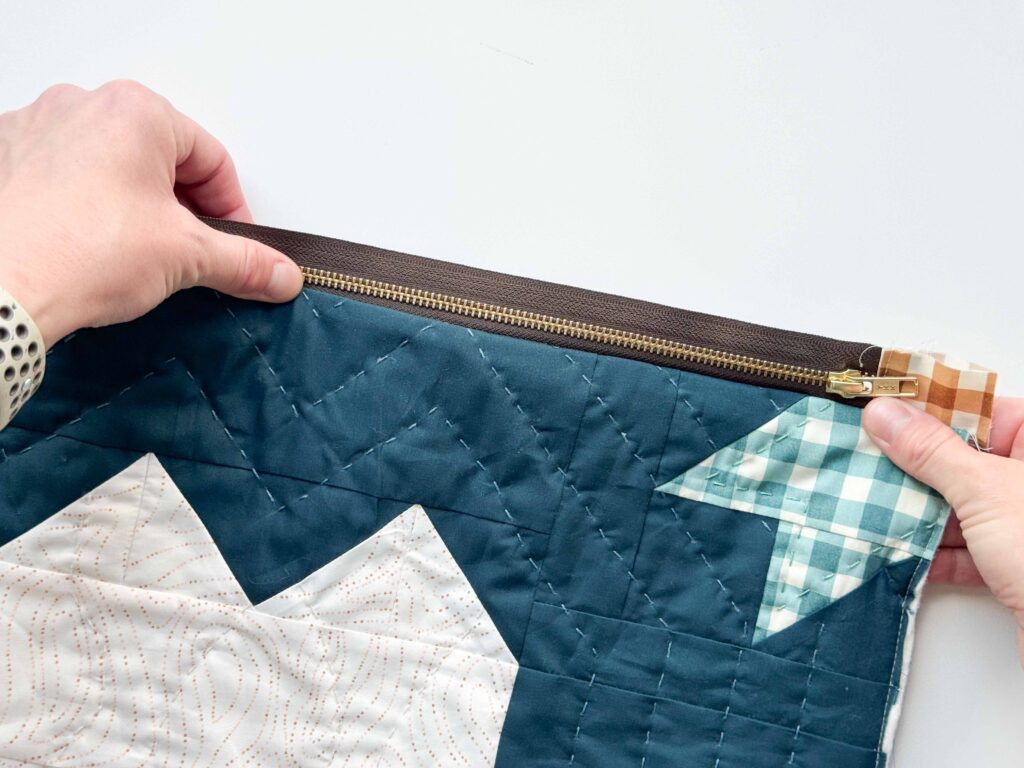
Place your front pillow panel right side up.
Lay the zipper right side down along the bottom edge of the front panel. Clip or pin it in place.
Using a zipper foot, sew about ¼ inch from the edge, stitching as close to the zipper teeth as you comfortably can.
When you get near the zipper pull, stop with your needle down. Lift the presser foot, slide the zipper pull past the foot, lower the presser foot, and keep sewing.
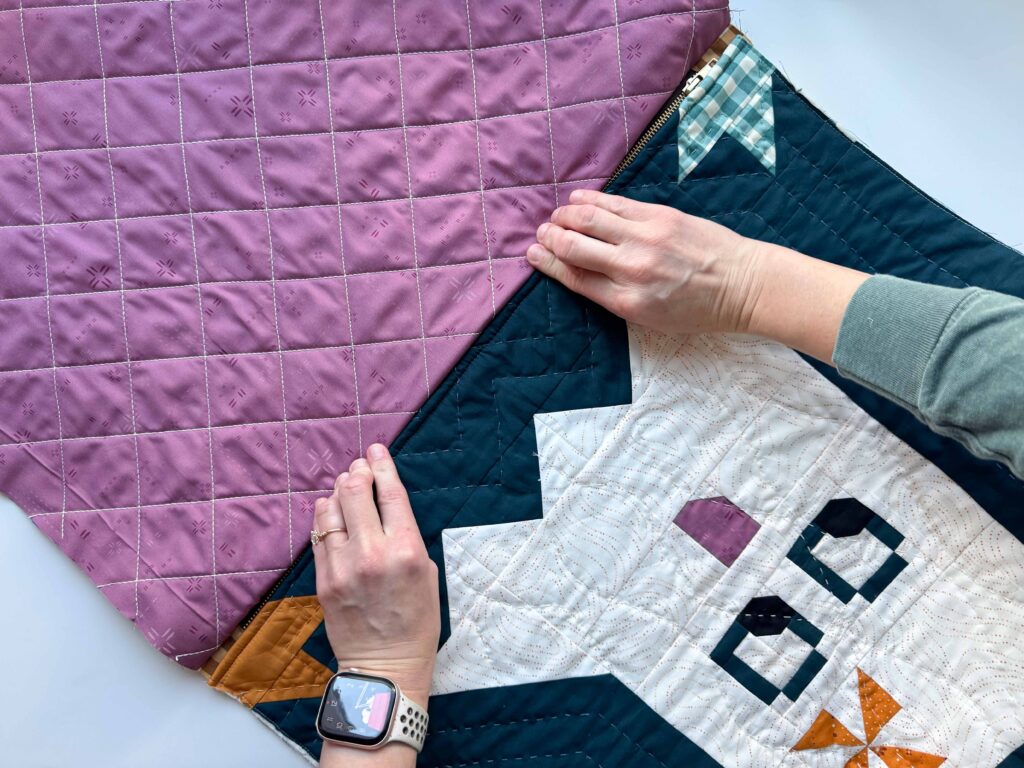
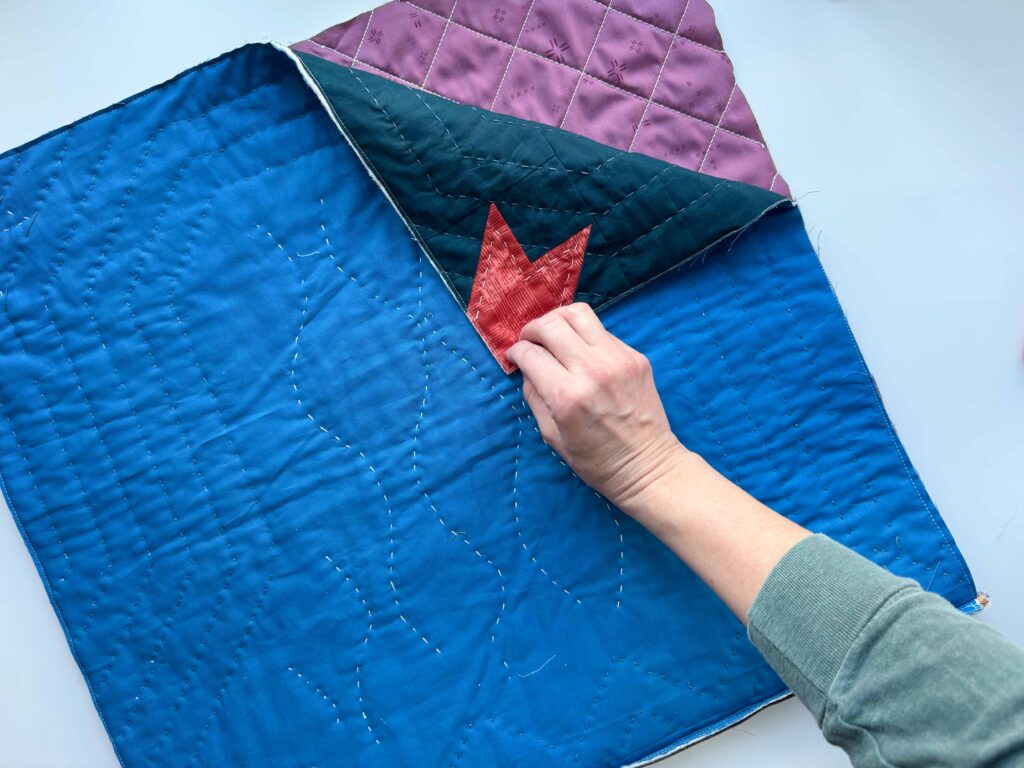
Now attach the back panel to the other side of the zipper.
Place the quilted back panel right sides together with the front panel, aligning the bottom edge with the remaining zipper tape. Clip or pin in place, then sew the zipper to the back panel the same way.

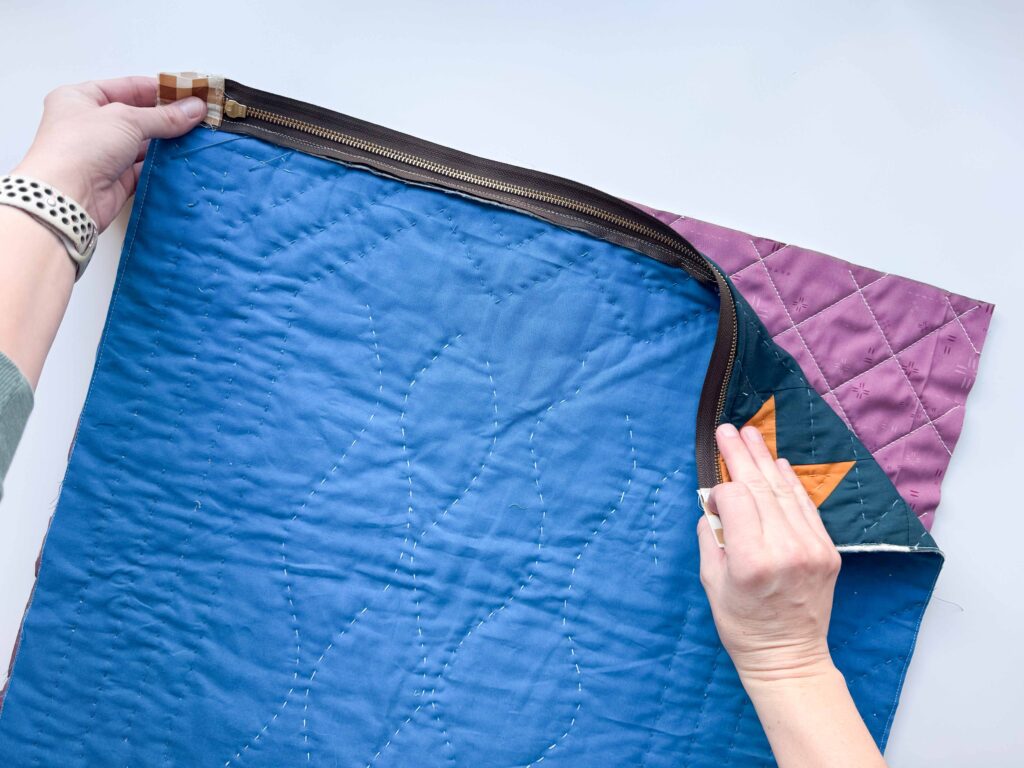
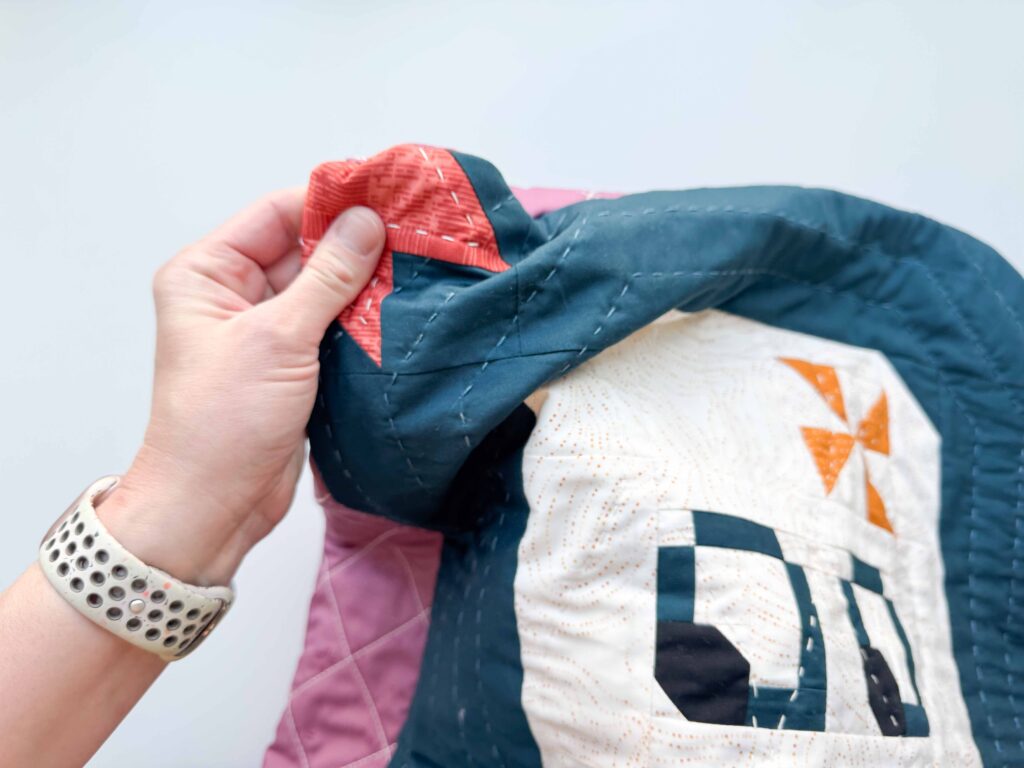
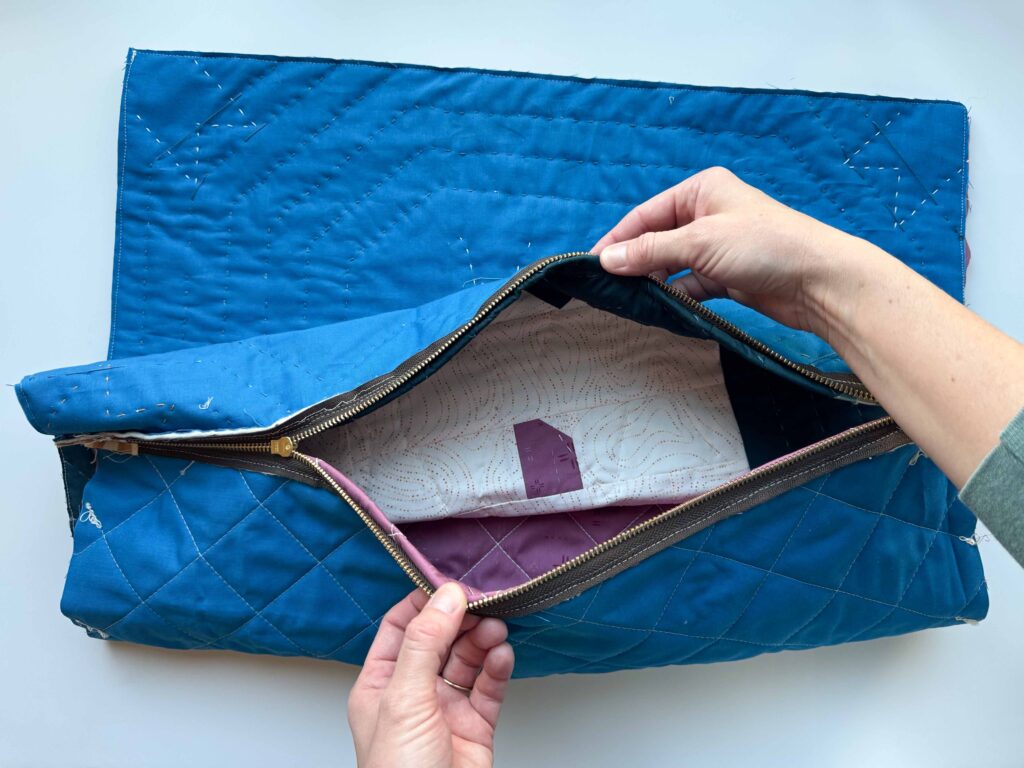
Once both panels are attached, fold the quilted panels away from the zipper so the fabric partially covers the zipper tape. This creates a partially hidden zipper and gives the pillow a polished finish.
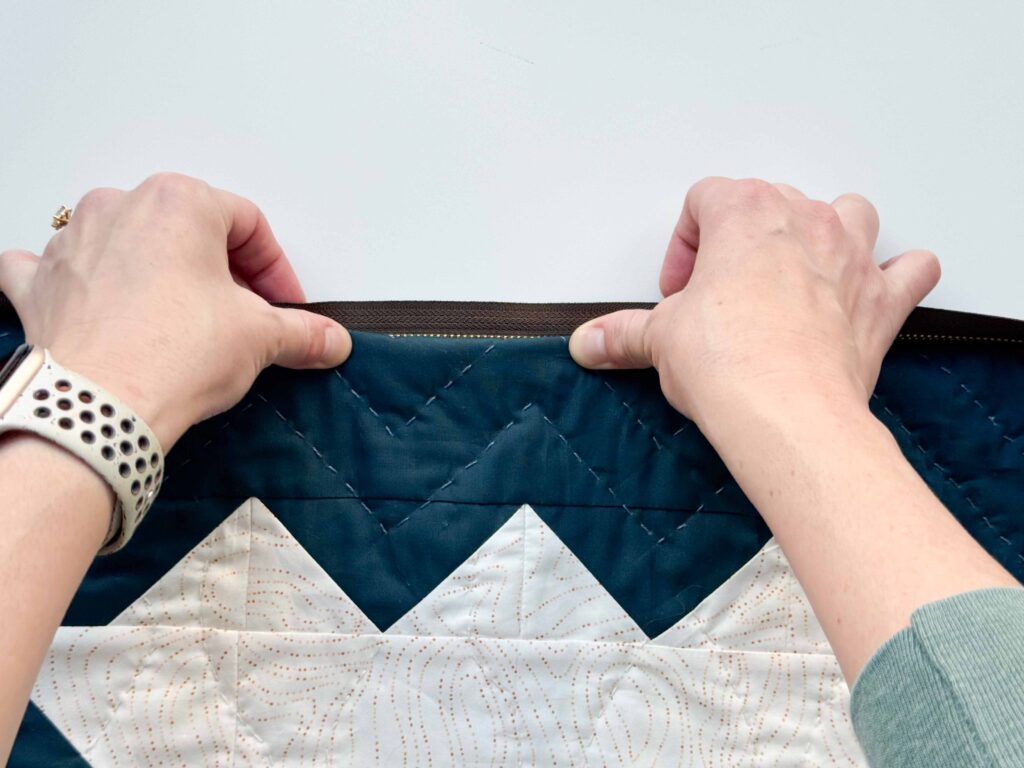
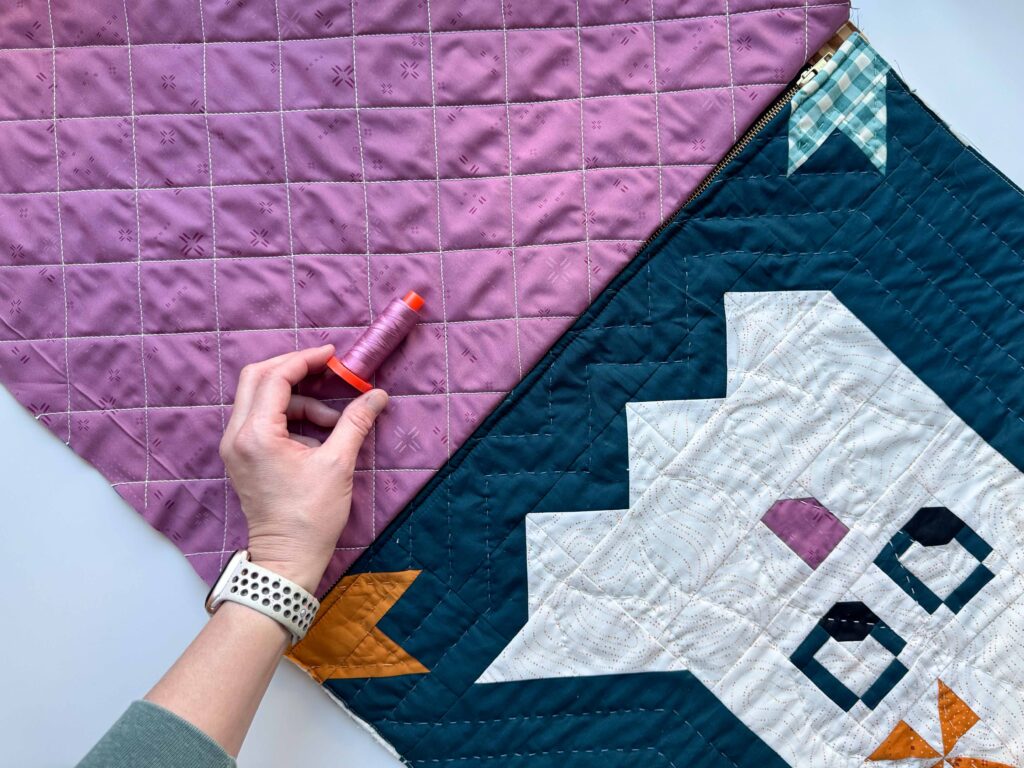
Topstitch along each side of the zipper, about ¼ inch from the fold, so everything lays flat.
Matching your thread to your fabric helps this step blend in beautifully. It’s a tiny detail, but it makes the whole pillow feel more finished.
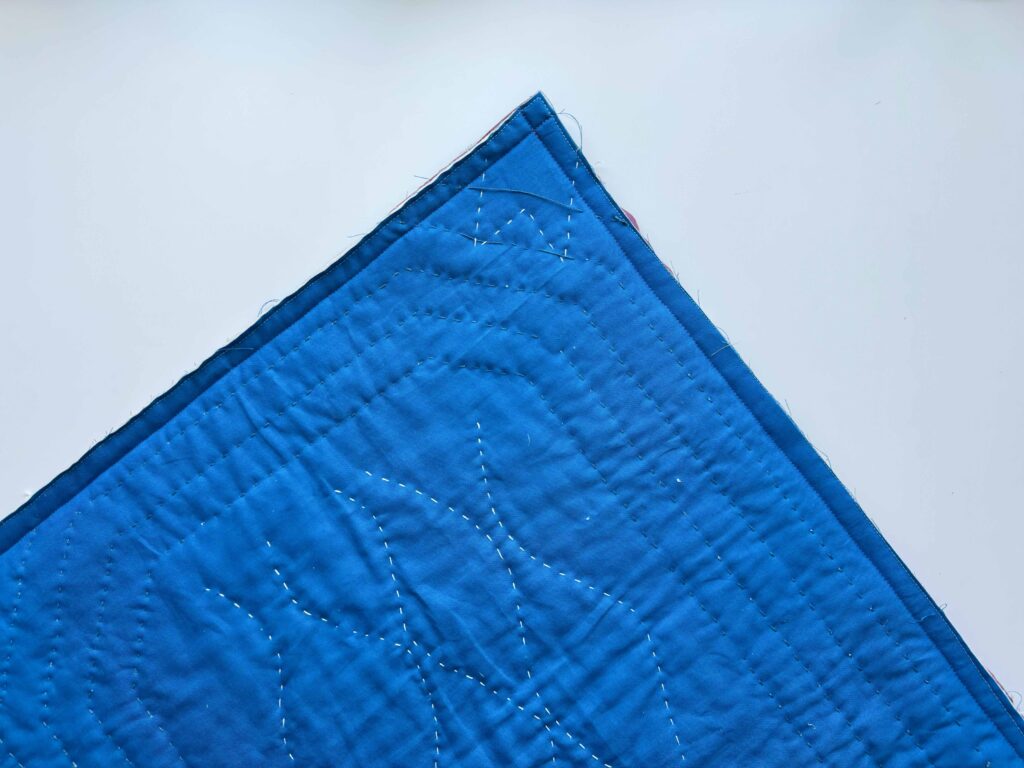

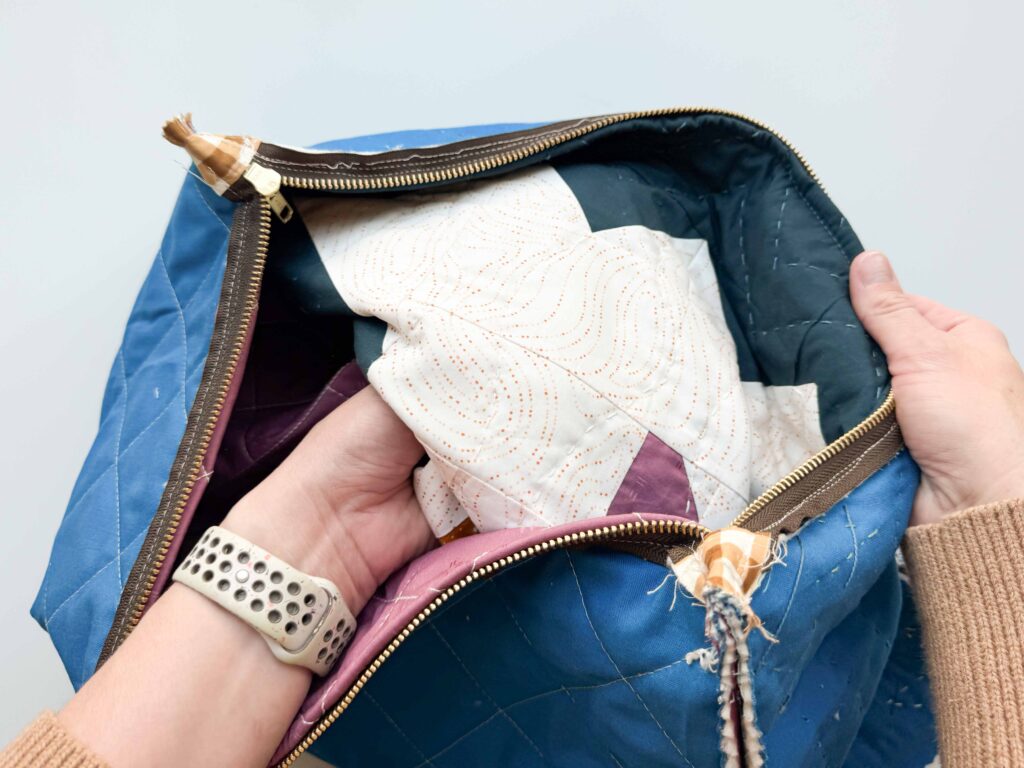
Step 6: Turn and Fluff
Turn the pillow cover right side out through the zipper opening.
Use a point turner or blunt tool to gently push out the corners. Press lightly if needed, being careful around the zipper.
Then insert your pillow form, zip it closed, and give the whole thing a good fluff.
Tiny home decor victory. We love to see it.